I gave a new recipe a try this week, and I have to say I loved it. I am sure everyone can  agree that there is very little that can compare to wonderful ooey gooey goodness that is pizza. I mean sometimes you just crave and need that hot, melty, rich flavor that only comes from biting into a slice of Italian pie.
However our life changed awhile back when my wife developed Celiac disease. For those who do not know, this is an extreme allergy to Gluten. Gluten is a substance found in cereal grains, especially wheat that is responsible for the elastic texture of dough.  Essentially it is a mixture of two proteins and is what causes illness in people with celiac disease. Think extreme abdominal pain due to swelling intestines that prevent proper absorption of food. It also causes severe rash breakouts along with other fun things. So needless to say all bread products, regular pasta, anything with MSG, etc. have been off limits.

In addition I have adopted a Keto style diet as I am trying to get in better shape (43 lbs down so far and still going!) So this has meant a no to pizza. Yes we have cried 
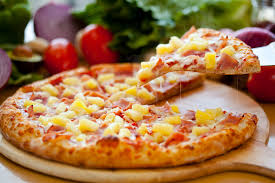
Well my wife has been craving pineapple and ham pizza. I know you haters are going to hate, however she enjoys it and quite honestly so do I. I mean if you haven’t tried it, you need to, i mean look at it:
So anyway, I set about on creating a pizza she and I could both enjoy. I have attempted various things as a substitute crust, cauliflower crusts, gluten free tortillas, and so far nothing really gave that awesome, comfort giving pop of flavor in the mouth that comes from real, honest to goodness pizza.

However, that all changed this week. I found a gluten free and Keto approved (depending on your choice of toppings)
The crust I made used a Fathead dough recipe (which is below). I refrigerated the dough for about 10 minutes before rolling it out. Place Saran Wrap over it to roll it out, I didn’t lol. It wasn’t difficult to get the parts off the rolling pin, but I am sure the plastic wrap would make it go smoother.
While the crust was in the oven I sliced some fresh pineapple  and put it out on the gas grill. Nothing on the pineapple, and just sprayed the grill.
The pizza sauce was a homemade marinara that I had made previously (I will post recipe late and insert link so check back J)
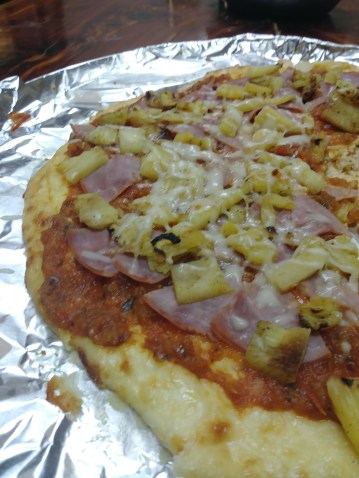
When the 13 minutes was up on the crust I took it out and let it cool a bit while I finished  the pineapple. From there it was simple. I spread the sauce on the crust. I then sliced some ham and placed on the pizza. I used a nitrate free ham sandwich meat ( I used Natural Choice).
I chopped several slices of the pineapple and covered the ham with it. On top of that I grated mozzarella cheese and placed it back in the oven (be sure to lower temp to 350 from 425 temp used with crust) and waited for the cheese to melt.
It was great! Though the crust tastes amazing, it is a slight different texture than standard bread crust, but it was defiantly pizza.
 I actually had leftover pineapple slices so I melted some butter and coconut sugar in a skillet with just a splash of water and glazed the remainder pineapple as a dessert for everyone else.
This was a big hit and will definitely be a repeat at our house. I did however learn a few things. I had covered my pizza pan with aluminum foil because I was afraid the dough might slip through the holes in the pan. This would not have been a problem and since I forgot to spray the aluminum foil, it caused some minor sticking issues. Next time I will not use the foil and will probably use my pampered chef stoneware (my wife reminded me about this after the fact, where was she with the great ideas when I started cooking? LOL). She was quiet pleased to have her pizza fix.
I hope you enjoy. You can obviously substitute any toppings you want on this crust.
Fat Head Dough Recipe
Ingredients:
- 4 oz. cream cheese
- 1 ½ cup shredded mozzarella
- 2 eggs
- ½ tsp garlic powder (or to taste, I add a bit more because I LOVE garlic)
- 2/3 cup almond flour
- ¼ cup parmesan cheese
Instructions:
Preheat oven 425
In a double boiler melt the mozzarella and cream cheese. I do not own a microwave (long story for another time) but you could use a microwave for this step. I would suggest about 15-25 seconds at a time and stir.
Add remaining ingredients to the melted cheese.
Mix it well. This will take a bit of stirring as melted mozzarella is interesting to work with. I would have to unstring it from my spoon, but it worked out without too much effort. Next time I will try the dough attachment on my Ninja mixer.
Grease a pizza pan, or use stone ware. Spread dough out in a circle to about ½ “thickness.
Bake 13-15 minutes or until golden brown.
Pile it up with your favorite toppings. If you have not tried it I suggest pineapple and ham. Jalapenos and bacon are another favorite around here.
Nutrition facts :
Serving size, cut pizza in 8 slices and serving size is two slices… because no one eats just one slice of pizza. But if you do, (yeah right) just divide this by 2.
Calories 302
Fat(g) 26.1
Carbs 5
Fiber 1.4
Protein 15.7
As Julia Child would say,

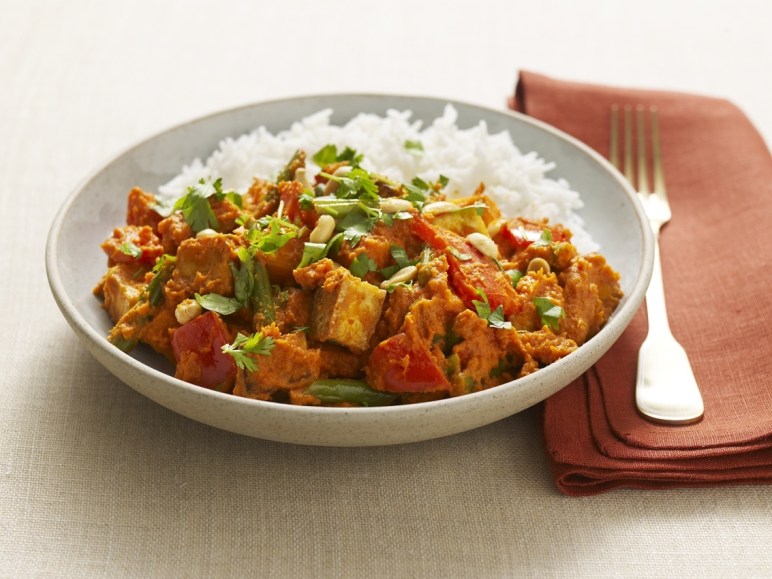
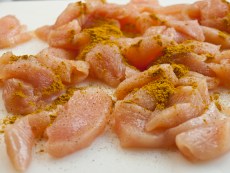
 family with whom I lived. Usually she would bring over what she called Pakistani Chicken. It was a whole chicken in a pot of vegetables with a very yellow color and smelled amazing. The taste was even better.
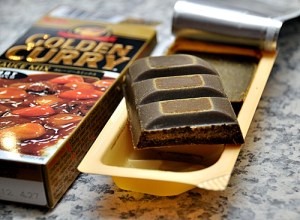
 Green curry paste
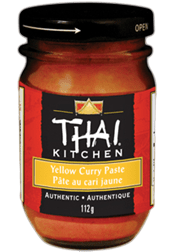 Yellow curry


 I started by putting vegetable oil on a cotton rag and rubbing the entire inside of the pit. After this was done it was time to light a fire. I built the fire in the fire box and let it go. I let the temperature stay around 250 ( most air vent s were closed) and let it go that way for an hour or more. I then opened all the vents and let the temperature rise. My intent was just to get to 45oand let it stay there for a bit before raising the temp. Well it is a new pit and some trial and error ensued with the temp quickly climbing to 500. This is perfectly okay. Some tutorials actually say just set it above 400 and let it go for 30-45 minutes. I am a firm believer in low temp and longer cooking times and well some of that idea flows over into the way I season my pits. It didn’t take much closing to get the temp back down.
 I want to point out, depending on how the paint quality , the heat will cause some flaking on the outside of the grill, especially on the fire box if it has an off set firebox. This is okay. If it bugs you, you can always purchase high temperature grill paint and touch it up. It should go with out needing to be said, but obviously wait for it to completely cool before attempting to repaint. Also wait for it to dry before grilling again.
 Time to cook some meat.I fired up the main area with charcoal and waited for the coals to completely ignite and become ready. I then started off the initial cooking with grilling one of my favorite burger recipes (recipe below).
 was a successful maiden trip with the new pit. All the food possessed excellent flavors. The friends and family all enjoyed themselves, so mission accomplished and I am confident that this pit’s future is indeed very bright as age will only improve the seasoning.


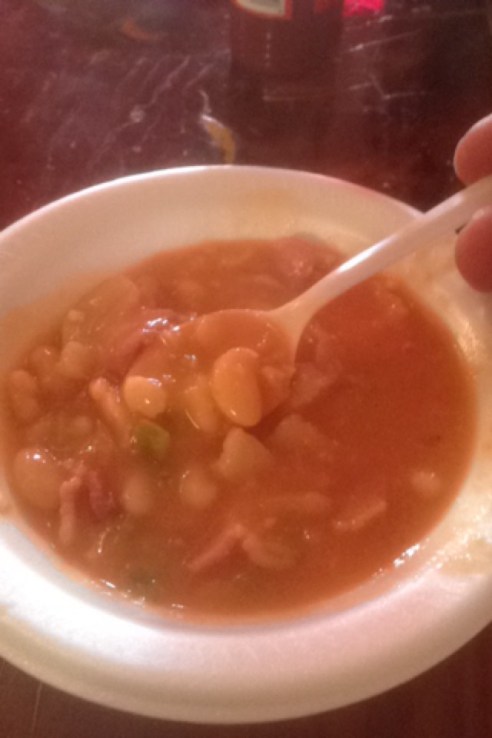
 I sliced the bacon into about 1 inch squares and browned it on the stove top over medium heat. I did this in the pot I was using for the soup so this was a one pot meal, I love easy clean up.
 translucent. Thinking back, I should have set some of the bacon off to the side to use as a garnish as well as chopped some green onions. I will have to do that the next time. The kids requested I remember this one and fix it again some time, so YAY! A win for Dad.
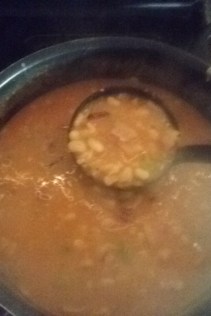
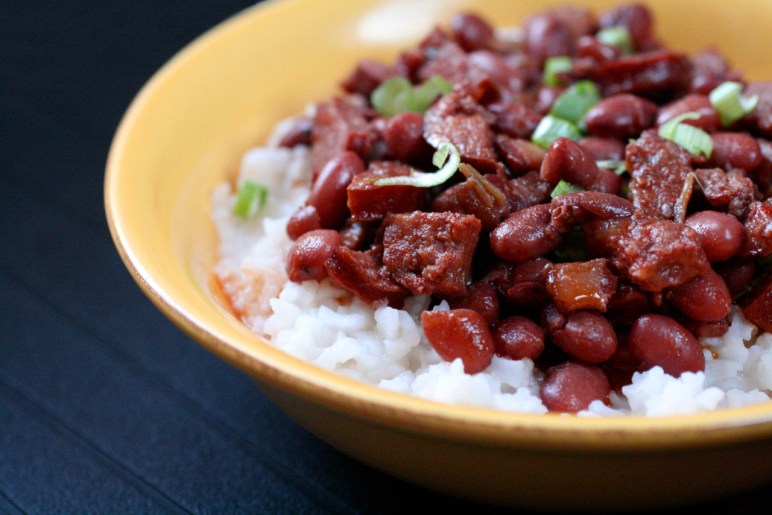
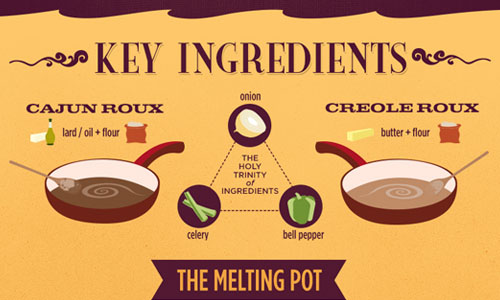
 Now let’s talk beans. Kidney beans are not red beans. Red beans (also called adzuki) are smaller and rounder (like pinto beans), but red in color. However, the two beans are fairly similar and can generally be used interchangeably in recipes that call for either dried or canned beans. Even so, I prefer red beans because once soaked, they create the creamy and smooth texture I expect in traditional red beans and rice.
 Kidney beans do not cook to the same creamy consistency as small red beans, they also don’t stand-up to long boiling time. Kidney beans may prove easier to find so if you substitute, the smaller ones work better and Camellia is a great brand that has found it’s way into many a Cajun’s home and pot.
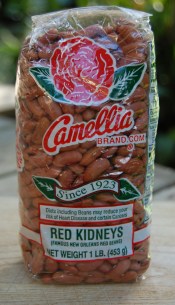
 You need hot sauce on the table so people can add a splash (or more) to the individual bowls. Tabasco will work, I have used it, I also like Texas Pete; but growing up it was always Louisiana Hot Sauce on the table. Some people like to add cider vinegar to their bowl, I was never a fan of this. It is a way to sneak that healthy apple cider vinegar into your life.
 And a tip of my hat to Emeril Lagasse and his version:
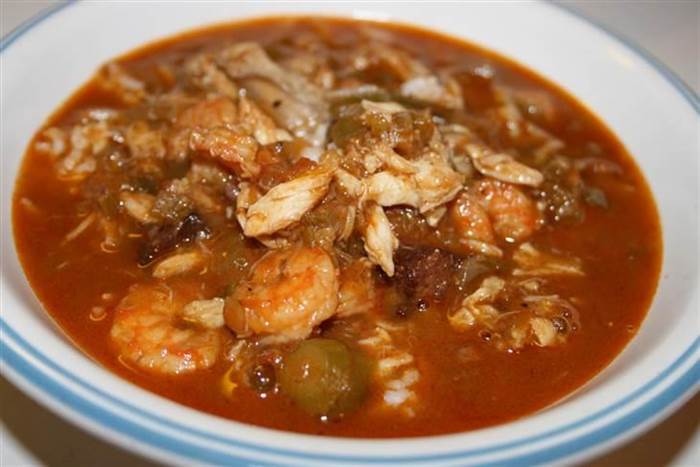

 Cajun Seafood Gumbo